
How To Use A Car Tyre Puncture Repair Kit Safe Fix Now!
A flat tyre can happen at the most inconvenient times on a rainy road, at night, or far from a garage. Many drivers panic, thinking a spare tyre is the only solution, but modern tyre puncture repair kits provide a quick, safe way for emergency tyre repair.
Whether it’s a nail in the tread or a small screw, knowing how to fix a flat tyre can save time, money, and stress. With a puncture repair kit for cars, you can do a DIY tyre repair safely at home or on the roadside.
In this blog post, you’ll learn step-by-step how to use a car tyre puncture repair kit, identify when a repair is temporary, and understand when it’s best to get professional help.
What is a Car Tyre Puncture Repair Kit?
A tyre puncture repair kit is your roadside rescue tool designed to temporarily fix small punctures without removing the wheel. Think of it as a first-aid kit for your tyres, it won’t cure everything, but it’ll help you reach safety.
There are two main types:
1. Tyre Sealant Kits
These kits contain:
- Liquid sealant (usually 100ml-300ml bottles)
- Tyre inflator or compressor (plugs into your 12V socket)
- Connection hoses and valve adapters
How they work: You inject the tyre sealant through the valve stem. As you drive, the sealant spreads inside and plugs the hole from within. Popular brands like Slime and Holts are TPMS safe, meaning they won’t damage your tyre pressure monitoring sensors.
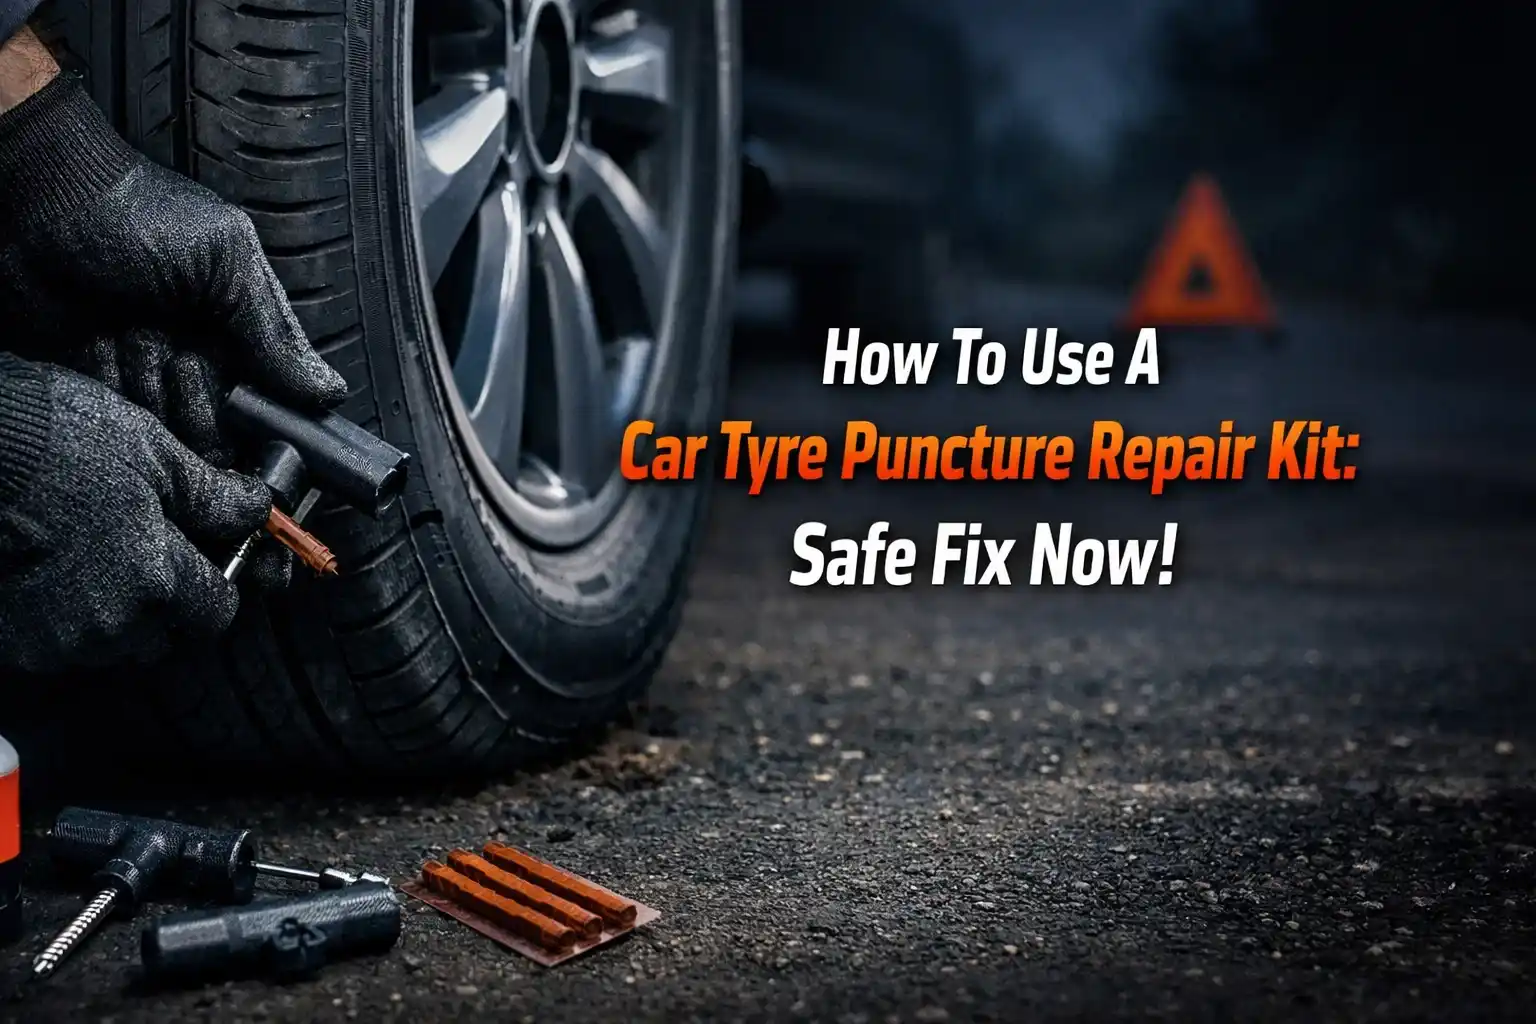
2. Tyre Plug Kits
These include:
- Rubber plugs (cork-like strips)
- Reamer tool (to clean and widen the puncture hole)
- Insertion tool or injector (looks like a large needle)
- Liquid cement (adhesive, sometimes included)
- Pliers or side-cutters
How they work: You physically insert a rubber plug into the puncture hole to seal it mechanically.
Temporary vs Permanent Fix
Here’s something crucial: Both methods are temporary tyre repairs. They’re designed to get you to a garage safely, not replace professional repair. According to TyreSafe, the UK’s leading tyre safety organisation, plugged tyres should be inspected by a professional within 100 miles or 24 hours for a permanent repair assessment.
Important limitation: Neither method works on sidewall damage. The sidewall flexes constantly while driving, so any repair there will fail dangerously. Only punctures in the tread area (the part touching the road) can be repaired, and even then, only if they’re smaller than 6mm in diameter.
Signs Your Tyre is Punctured
Sometimes punctures are obvious, you hear a loud pop or see something stuck in your tyre. But often, they’re sneaky. Here’s how to spot them:
Warning Indicators:
- The tyre pressure warning light illuminates on your dashboard
- Vibrations in the steering wheel or car body
- Your car pulls to one side while driving straight
- You hear a hissing sound near the wheels
- Visible deflation, one tyre looks noticeably flatter than the others
Safety Check Before Driving:
Never ignore these signs! A 2023 study by RoSPA (Royal Society for the Prevention of Accidents) found that driving on underinflated tyres increases stopping distance by up to 25%.
If you suspect a puncture:
- Pull over safely away from traffic
- Turn on your hazard lights
- Inspect all four tyres visually
- Check for embedded debris like nails or screws
Pro tip: Mix soapy water in a spray bottle and spray it around the tyre. If you see bubbles forming, that’s your leak point!
Tools Needed for Repair
Before you start any roadside tyre repair, gather these essentials:
Tool | Purpose | Pro Tip |
Tyre sealant bottle | Seals puncture from the inside | Check expiry date, most last 2-3 years |
Portable air compressor | Inflate the tyre after repair | 12V models plug into the cigarette lighter |
Reamer tool | Cleans and widens the puncture hole | Only for plug kits |
Insertion tool | Pushes the rubber plug into the hole | Thread plug before inserting |
Rubber plugs | Physical seal for puncture | Usually come in packs of 5-10 |
Pliers/side-cutters | Remove embedded objects | Needle-nose type works best |
Work gloves | Protect hands | Safety first! |
Jack & wheel chocks | Lift the car if needed | Not always necessary for repairs |
Flashlight | See in the dark/nighttime | Keep one in your boot |
Essential reminder: Always keep a portable air compressor in your car. Many modern puncture repair kits include one, but if yours doesn’t, invest in a compact model. They cost around £20-40 and are lifesavers.
Step-by-Step Guide: How to Use a Tyre Puncture Repair Kit
Now let’s get to the main event, actually fixing that puncture. Whether you’re using a sealant kit or plug kit, follow these steps:
Step 1: Ensure Safety First
Your safety beats everything else. Before touching the tyre:
- Park away from traffic on level ground
- Turn on hazard lights
- Apply the handbrake firmly
- Turn off the engine
- Put on work gloves
- Place a warning triangle 45 feet behind your car (if on a motorway)
In 2024, according to UK government road safety data, showed that 12% of roadside accidents involved people fixing tyres in unsafe locations. Don’t become a statistic!
Step 2: Read the Kit Instructions Carefully
I know everyone skips instructions. But here’s why you shouldn’t:
- Different kits have different temperature limits
- Some sealants aren’t compatible with run-flat tyres
- Diameter limits matter: Most kits only work on punctures smaller than 4-6mm
- You need to know if your kit includes liquid cement or not
Step 3: Locate and Assess the Puncture
Visual inspection: Walk around your car and look for:
- Nails, screws, or glass embedded in the tyre
- Bulges or cuts in the sidewall
- Objects stuck in the tread area
Bubble test method:
- Mix dish soap with water in a spray bottle
- Spray generously around the tyre
- Look for bubbles forming; that’s your leak
Critical decision point: Is the puncture in the tread or the sidewall?
- Tread area: You can attempt a repair
- Sidewall or shoulder: Stop! You need professional tyre replacement
Step 4: Remove Foreign Object (For Plug Kits)
If there’s a nail or screw:
- Grip it firmly with needle-nose pliers
- Pull straight out, don’t wiggle or twist
- Don’t remove if the puncture is in the sidewall (you need towing)
Warning: Once you remove the object, air will escape faster. Work quickly!
Step 5: Prepare the Tyre and Repair Tools
For Sealant Kits:
- Remove the valve cap from the punctured tyre
- Some kits require removing the valve core (tiny internal part) check instructions
- Shake the sealant bottle vigorously for 30 seconds
- Attach the sealant bottle to the valve stem
For Plug Kits:
- Take the reamer tool
- Insert it into the puncture hole
- Push and pull in a twisting motion 5-7 times
- This cleans the hole and roughens the surface for better adhesion
Pro tip: The reaming process might feel tough; that’s normal. You’re scraping steel belts inside to create a better seal.
Step 6: Insert Tyre Plug or Sealant
Sealant Method:
- Squeeze the entire sealant bottle into the valve
- This usually takes 15-30 seconds
- Reattach the valve core if you removed it
- Disconnect the bottle
Plug Method:
- Thread a rubber plug through the eye of your insertion tool
- Apply liquid cement to the plug if your kit includes it
- Push the insertion tool straight into the puncture hole until only 1-2cm of plug remains visible
- Twist the tool 90 degrees (quarter turn)
- Pull the tool straight out quickly
- The plug stays in the hole, sealing it
- Trim any excess plug sticking out with side-cutters leave about 3mm above the tread
Common mistake to avoid: Don’t twist while pulling out you’ll dislodge the plug!
Step 7: Inflate the Tyre
Time to pump air back in:
- Connect your portable air compressor to the valve stem
- Check your car’s recommended PSI (find it on the driver’s door sill, fuel cap, or owner’s manual, usually 30-35 PSI)
- Inflate to the correct pressure
- For sealant repairs, slightly overinflate by 3-5 PSI initially
Why overinflate with sealant? As you drive, the sealant spreads and settles. Slight overinflation ensures you maintain proper pressure during this process.
Step 8: Test and Drive Short Distance
Don’t rush off immediately:
- Listen for leaks, kneel beside the tyre
- Spray soapy water on the repair spot and look for bubbles
- If using sealant, drive slowly for 1-2 miles to spread it evenly inside
- Stop and recheck tyre pressure
Speed limit after repair: Keep it under 50 km/h (30 mph) for the first 10 miles. The repair needs time to set properly.
Step 9: Understand Temporary vs Permanent Fix
Here’s the reality check: Your DIY tyre repair is temporary. It’s brilliant for emergencies, but:
- Good for: Getting to a garage safely (up to 100 miles)
- Good for: Small punctures in the tread area (under 6mm)
- Not good for: High-speed motorway driving
- Not good for: Long-term use (more than a few days)
- Not good for: Sidewall damage, large tears, or multiple punctures
Professional repair options: A proper garage uses an internal patch combined with vulcanising (heat-sealing). This costs £10-25 but lasts the tyre’s lifetime. If you’re unsure about tyre repair vs tyre replacement, get expert advice.
Driving After a Temporary Repair
You’ve fixed the puncture brilliantly! But don’t celebrate by speeding home. Follow these safety guidelines:
Speed and Distance Limits:
- Maximum speed: 50 mph for the first 24 hours
- Recommended distance: Under 100 miles before professional inspection
- Avoid: Motorways, heavy loads, harsh braking
Monitor Tyre Pressure:
- Check pressure every few hours initially
- If pressure drops more than 2 PSI in an hour, the repair is failing
- Keep your portable compressor handy
Load Restrictions:
- Avoid carrying heavy loads in the boot
- Don’t tow caravans or trailers
- Reduce passenger count if possible
Real comparison: Think of your repaired tyre like a bandaged ankle. You can walk carefully, but you shouldn’t run a marathon. Treat it gently until properly fixed.
Common Mistakes to Avoid
Learn from others’ errors:
Mistake | Why It’s Wrong | What to Do Instead |
Using expired sealant | Sealant hardens and won’t flow | Check expiry dates and replace every 2-3 years |
Over-tightening plug | Damages tyre structure | Insert firmly, but don’t force it |
Ignoring PSI recommendations | Under/overinflation damages tyres | Always inflate to the manufacturer’s specs |
Repairing sidewall punctures | Sidewalls flex too much repair will fail | Replace the tyre immediately |
Driving fast after repair | Repair needs time to set | Stay under 50 mph for 24 hours |
Using plugs on punctures over 6mm | Hole too large to seal safely | Professional repair or replacement needed |
Forgetting to remove the valve core | Sealant can’t enter (some kits require removal) | Read instructions carefully |
Biggest mistake? Assuming the repair is permanent. Even the best temporary tyre repair is just that temporary. Always get a professional inspection within 100 miles.
Sealant Kits vs Plug Kits: Which Should You Choose?
Confused about which type to buy? Here’s an honest comparison:
Tyre Sealant Kits:
Pros:
- Easier to use, no physical insertion needed
- Works while you drive, spreads automatically
- Doesn’t require removing objects sometimes
- Good for tiny, hard-to-find punctures
Cons:
- Messy if you need to change the tyre later
- Some garages charge extra to clean out the sealant
- Not suitable for large punctures (over 4mm)
- Single-use can’t reuse leftover sealant
Tyre Plug Kits:
Pros:
- Cleaner with no liquid mess
- Multiple uses from one kit
- Works on slightly larger punctures (up to 6mm)
- Garages prefer them (easier to work with)
Cons:
- Requires more skill and effort
- You must locate and access the puncture
- Reaming process can be physically demanding
- Not ideal in wet/dark conditions
My recommendation: Keep a sealant kit for quick highway emergencies, and a plug kit at home for driveway repairs. Best of both worlds!
Emergency Roadside Checklist
Beyond your repair kit, pack these essentials:
- High-visibility vest (legally required in some countries)
- Warning triangle
- Flashlight with fresh batteries
- Work gloves
- Tyre pressure gauge
- Portable compressor
- Multi-tool or Swiss Army knife
- Mobile phone charger
- Bottled water and snacks
Pro tip: Store everything in a small plastic box in your boot. Label it “EMERGENCY KIT” so family members can find it quickly.
Long-Term Tyre Maintenance Tips
Prevention beats repair every time. Here’s how to avoid punctures:
Monthly Checks:
- Inspect tyre pressure when tyres are cold
- Look for embedded debris in the tread
- Check for unusual wear patterns
- Examine sidewalls for cuts or bulges
Every 6 Months:
- Rotate tyres for even wear
- Check wheel alignment
- Inspect tread depth (legal minimum: 1.6mm, recommended: 3mm)
Driving Habits:
- Avoid potholes and road debris when possible
- Don’t mount curbs
- Reduce speed on gravel roads
- Keep tyres properly inflated underinflation causes 75% of blowouts
Did you know? According to TyreSafe UK, 1 in 3 cars has at least one tyre with dangerously low tread or pressure. Regular checks could prevent 90% of tyre punctures and blowouts.
If you notice signs you need a car tyre replacement, don’t delay; it’s a safety issue.
Conclusion
Knowing how to use a car tyre puncture repair kit can turn a stressful roadside emergency into a minor inconvenience. Whether you choose a sealant kit for simplicity or a plug kit for hands-on control, the key is preparation and practice. Keep your kit accessible, check expiry dates, and never treat these repairs as permanent solutions.
Keep your kit handy, follow step-by-step instructions, and check your tyre pressure regularly. For trusted mobile tyre repair services and same-day tyre inspection, contact Rapid Fix Mobile Tyres today. Stay safe, drive smart, and never get stranded again!
Frequently Asked Questions
1. Can you repair a tyre sidewall puncture?
No. Sidewall repairs are extremely dangerous because this area flexes constantly while driving. Even professional garages won’t repair sidewall damage; replacement is the only safe option.
2. How long does a temporary tyre repair last?
Sealant repairs: 50-100 miles. Plug repairs: Up to 100 miles. Both should be professionally inspected within 24 hours or before long journeys.
3. Can I use both a plug kit and a sealant kit together?
Not recommended. Sealant can prevent the plug from adhering properly. Choose one method and stick with it.
4. Will tyre sealant damage my TPMS sensors?
Quality TPMS safe sealants (like Slime or Holts) won’t damage sensors. Always check the product label before buying.
5. Can I repair run-flat tyres with a puncture kit?
Most manufacturers say no. Run-flat tyres have reinforced sidewalls that don’t work well with standard repair kits. Check your vehicle handbook.
6. How do I know if the puncture is too big to repair?
If it’s larger than 6mm in diameter or in the sidewall, it’s too big. When in doubt, measure with a ruler or get professional advice.